
A sequence is a set of photographs processed together. For regular trails, use consecutive photos of the same size and keep the framing consistent.
Before stacking:
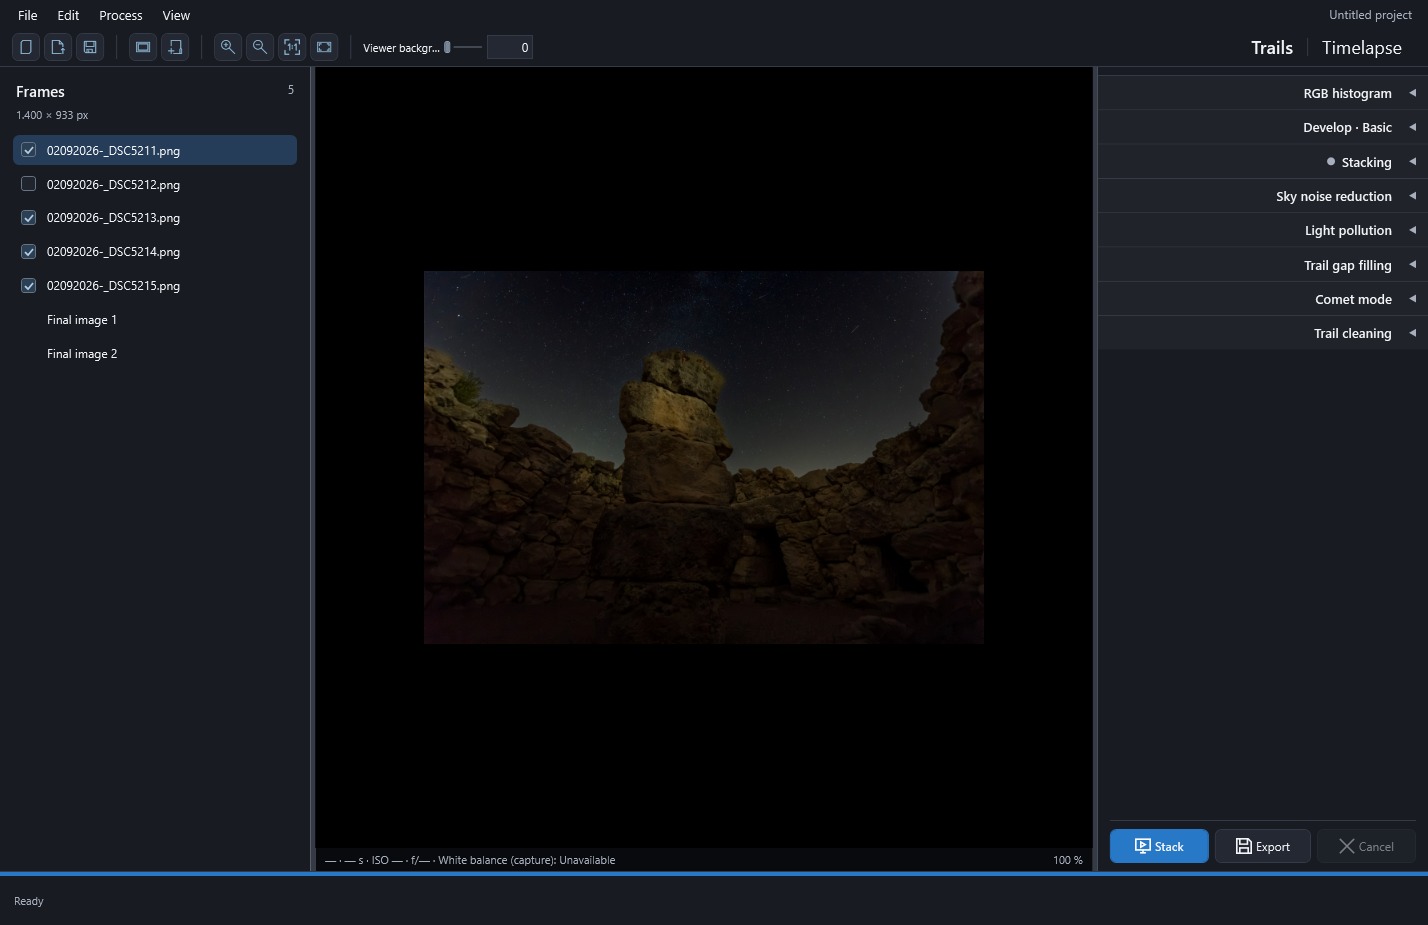
- Add the full sequence with Add images, Add folder, or by dragging it into Frames.
- Look at a few photos near the beginning and end. If you imported several batches, check the joins too.
- Uncheck shaken photos or lighting you do not want to accumulate. Compare before removing them: excluding a photo can also leave a gap in a stellar trail.
You can keep a landscape photo without adding it to the trails. Later, choose it as a reference with No stacking.
Select, include and work with multiple rows
The list holds two independent choices: which photo is active and which photos participate in processing. Keeping them separate is especially useful when reviewing a long sequence:
| Action in Frames | What you choose | Example use |
|---|---|---|
| Click a row | The active photo or version to inspect | Examine an original with an aircraft trail or return to a completed stack. |
| Check or uncheck its box | Whether that original enters subsequent calculations | Leave out a shaken shot while keeping it in the project. |
| Ctrl + click several rows | A selection of separate rows | Choose several entries to remove through the context menu. |
| Shift + click | A selection of consecutive rows | Select part of the list without choosing every photograph individually. |
When you select several originals, the last added to the selection becomes active for per-photo controls. Other highlighted rows remain selected, but they do not restrict stacking to that group: processing uses originals with their inclusion boxes checked. A single click returns you to one selected row.
The Develop or Light pollution link also does not use highlighting as its destination list. It shares the active original's settings with other originals included through their checkboxes. Review those boxes before enabling the link, even if only one row is highlighted. Final images stay outside this synchronization.
In Timelapse, inclusion boxes are only the first selection. Range, frame step and, where applicable, endpoints reserved for cleanup references are applied afterward. This is why the original count in Frames can differ from the video's output count.
Formats, order and photo selection
You can import several files at once in JPG/JPEG, PNG, TIFF/TIF, Nikon NEF, Fujifilm RAF, Sony ARW/SRF/SR2 and Canon CRW/CR2/CR3. For Sony and Canon, compatibility depends on the camera and encoding supported by the bundled LibRaw version. Convert other RAW formats, HEIC and XISF to a supported format first.
Import skips paths already added and sorts each batch by name/path. Later batches are appended, so importing a whole sequence together with zero-padded names helps preserve chronological order. This matters because the list does not support rearranging photographs by dragging them.
Uncheck a photo to leave it out of processing while keeping it in the project. To remove its project reference:
- Select one or more rows with Ctrl or Shift.
- Right-click and choose Remove from stack.
- Stack again for a result using the new list.
Neither removal nor unchecking deletes files from disk. Completed final versions are kept too. Import a removed photo again to restore its entry.
While import or detection finishes, you can continue browsing photos that have already loaded. Use this time to check for read errors or different image sizes. Photos that cannot be read will not be processed, and you will need to exclude incompatible dimensions because the app does not resize photographs for stacking.
During detection, the trail counters group candidates by type. Wait for temporal validation to finish before treating those figures as final.
When you are ready to work on another sequence, save the changes you want to keep and create a new project. If the current project contains photographs, the app asks for confirmation before clearing it.
 Enlarge screenshot ↗