
A timelapse may be too dark, or its brightness may jump between photos. Use Exposure for the first problem and Reduce flicker for the second. Start with an uncorrected preview so you can see which one needs attention.
Smooth brightness jumps
- Generate a preview of a section where the jump is visible.
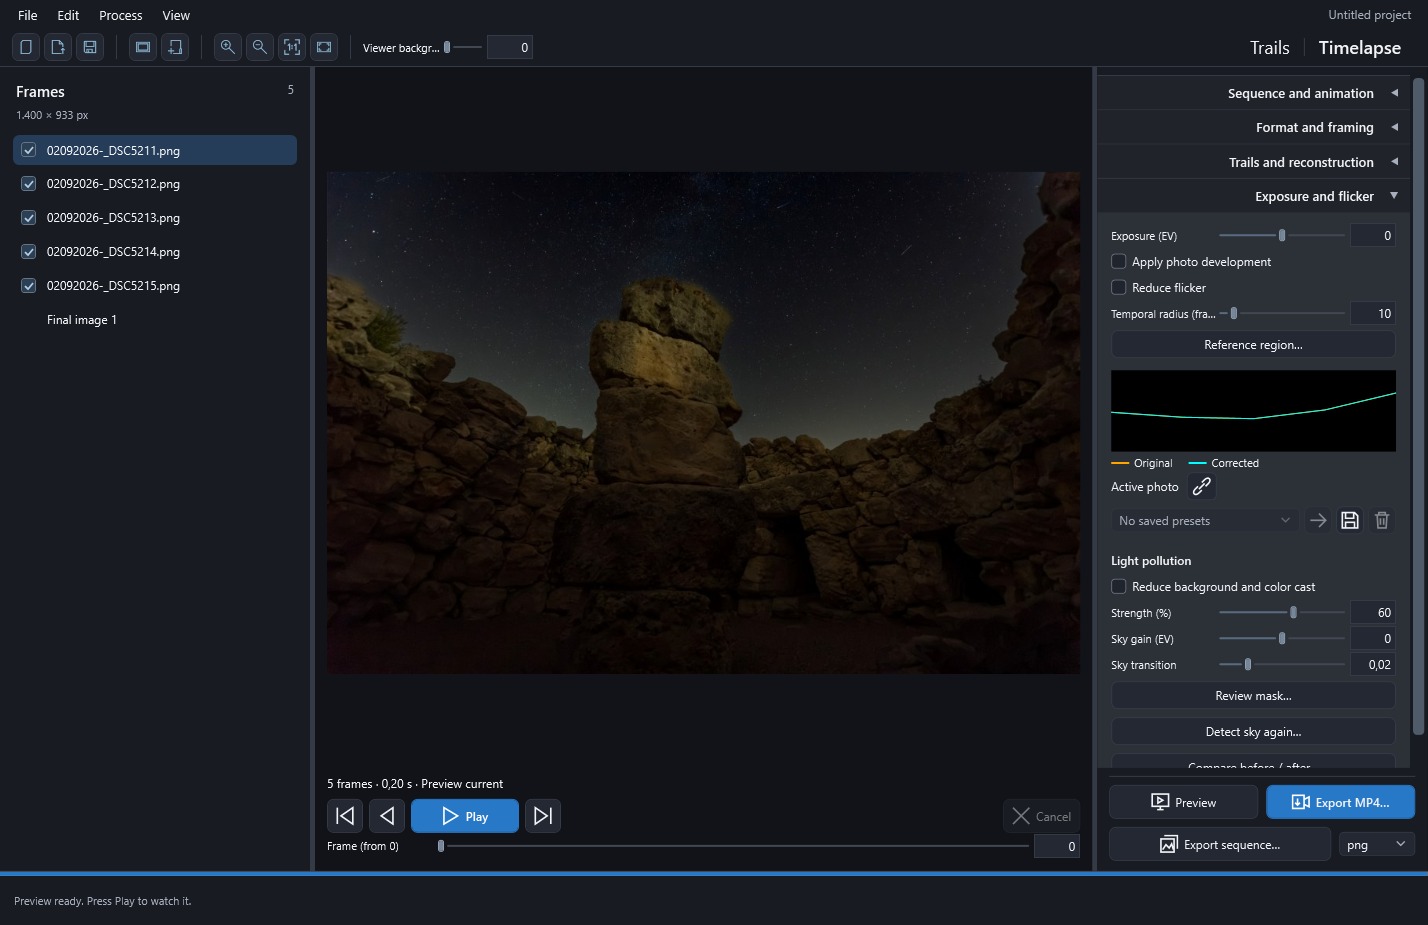
- Enable Reduce flicker and open Reference region…. Choose a broad, stable area without headlights or lights present in only some photos.
- Try a Temporal radius of 10 frames. This sets how many neighboring frames on each side are considered when smoothing brightness; a larger radius covers more time.
- Regenerate and play the same section. Check that jumps become smoother while the progression of dawn or dusk remains.
- If a local flash changes the brightness of the whole picture, choose another reference region before increasing radius.
The curves help you see what changed: orange is original brightness and cyan is corrected brightness. Watch the film too; a smooth curve alone does not ensure a good transition.
Review without exporting every trial
The preview is a temporary, reduced copy of the movie for trying settings. Use play/pause, the frame buttons or the position slider to move through it. Regenerate after changing photos or settings: moving the position does not calculate pending changes.
Before exporting:
- Restore the full range if you tested only a short section.
- Watch the beginning, middle, end and lighting transitions.
- Check duration. Preview playback speed depends on the computer; file playback depends on frame count and FPS.
Exposure and playback settings
For sliders with a default value, double-click the bar to restore it without resetting other controls. When a control has a numeric field, double-click the bar rather than the text. This also works on the corresponding controls in Trails and the mask editor.
If you have already prepared originals in Trails, enable Apply photo development to bring their adjustments into the video, including Sky and Ground regions. The option starts off and uses each photo's development rather than Final image development. Since it does not interpolate settings between photographs, check that different values do not cause sudden changes in brightness or color.
Use Exposure (EV), from −10 to +10 EV, to change the brightness of the whole video. If the problem is variation between photographs, use Reduce flicker instead. It calculates compensation from the reference region and temporal radius, limiting each photo's correction to try to preserve gradual changes.
You can drag numeric controls or type a value and confirm it with Enter; Escape restores the current value. Counts require whole numbers. Some sliders extend their suggested range if you type a larger value, while others retain fixed limits, such as exposure or percentage strength.
Previews are stored temporarily with a 2 GB limit. If you reach it, shorten the chosen range and generate another trial. A reduced preview does not measure native-resolution export performance.
 Enlarge screenshot ↗