
Use the viewer to judge both composition and detail. Each scale answers a different question:
- With Fit, look at composition, the balance between sky and ground, and the length of the arcs.
- At 100%, look for doubled stars, gaps, halos and aircraft remnants. Check branches and the horizon if you used a mask.
- Above 100%, a defect may be easier to locate, but enlarging the image adds no detail.
To compare versions, alternate between their rows and look at the same area at a similar scale. Hide masks when judging color. If a stack is still running, wait until it finishes before deciding whether you like the result.
Separate viewing controls from output adjustments
Zooming in does not crop the export; it only lets you examine more detail. Likewise, viewer background brightness changes the area around the photograph rather than its exposure. To change output framing or brightness, use the appropriate crop or development tools.
Colored masks are another review aid. Hide them to inspect a correction without an overlay, but remember that hiding a mask does not disable the effect using its selection. To decide whether a trail is removed, change its checkbox and Apply correction to stacking and export; to change where a sky adjustment acts, edit its mask.
While editing a selection, the toolbar above the image provides drawing tools and actions to apply or discard changes. You are defining an area at this point, so finish that edit before continuing to adjust the photograph. The overlay color identifies the selection and will not appear as a cast in the exported file.
Review a photograph and review a video
Use Trails to inspect small defects: select an original or final version and zoom to 100%. A generated Timelapse preview is mainly for judging motion, pace, trail continuity and brightness changes. Choose its position with the controls below the image, rather than by selecting an original in Frames.
After changing a photograph or setting, a frame from the earlier calculation may remain visible. Check preview freshness and click Preview again before judging the change. A single paused image is also insufficient for assessing the video: inspect several positions and play the whole sequence.
Zoom and capture data
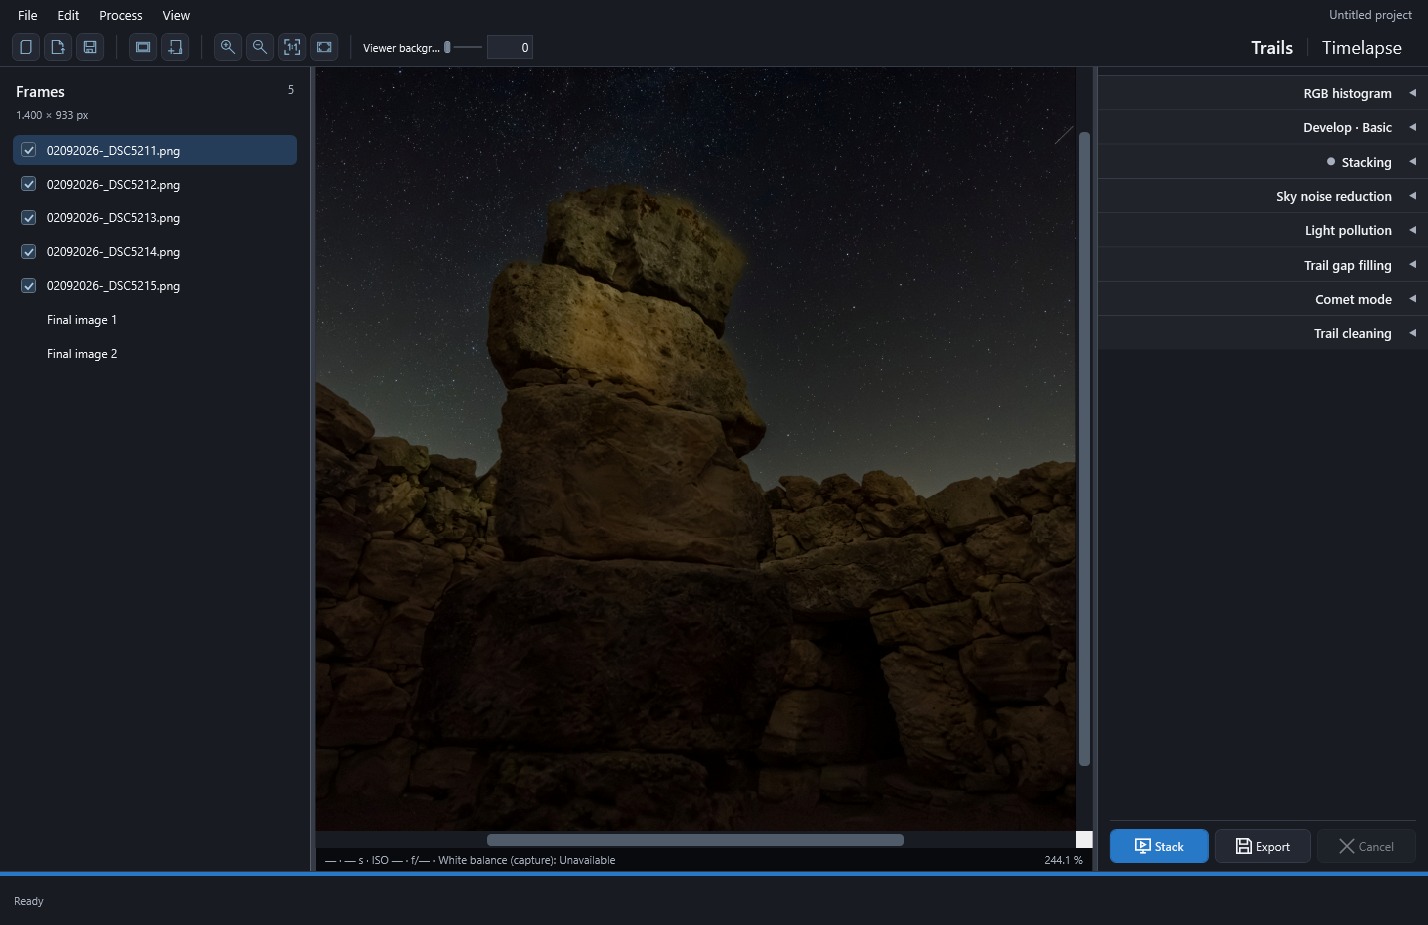
Choose a scale with Zoom in, Zoom out, 100% and Fit above the viewer or under View → Zoom. Zoom ranges from 1% to 800%, with 25-percentage-point steps.
You can also work directly on the image: click for actual size, drag to pan and double-click to fit. If you prefer the keyboard, focus the viewer and press Enter or Space to switch between those scales. Scrollbars help you move around an enlarged image, while the background brightness control changes only the viewer's backdrop, leaving the photograph untouched.
Zooming an individual photograph loads its original resolution. Stacking progress uses reduced previews; the completed result is available at full size. Fit does not enlarge small images beyond 100%.
The strip below the viewer shows capture date, exposure, ISO, aperture, focal length, available white balance and zoom. A dash means the file does not supply that value. A completed stack shows only zoom information, since it combines several photographs.
Color information distinguishes capture white balance from embedded development XMP. Temperature and tint are shown when the XMP supplies them; relative adjustments are not presented as Kelvin. For RAW, the development panel also explains whether temperature comes from the camera or has been estimated from capture white balance. This reading is limited to embedded information: external XMP sidecars are not read.
 Enlarge screenshot ↗